REVIEW · AMSTERDAM
Amsterdam Traditional Dutch Syrup Waffle Making Workshop
Book on Viator →Operated by FunAmsterdam · Bookable on Viator
Sweet, sticky, and fast in Amsterdam.
This Amsterdam stroopwafel workshop turns a famous Dutch snack into a hands-on experience you can actually repeat later. In about 45 minutes, you’ll mix dough, cook it on a traditional iron, and fill it with warm caramel syrup between two thin waffle layers, then get to eat (or take away) what you made. I especially like the small-group feel—maximum 12 people—so your host can keep things smooth and your questions from getting lost.
I also love that the class is built for beginners. You don’t need any baking or cooking experience, and the pace is friendly for first-timers, even if you’re traveling with a group. One possible drawback to note: the process uses pre-prepared flour (you mostly add water), so it’s less like a from-scratch tutorial and more like a guided, reliable “make the real thing” workshop.
In This Review
- Key highlights at a glance
- Stroopwafels in 45 Minutes: Why This Class Works
- Where You’ll Go: Albert Cuyp Market Location That Fits a Day Out
- The Class Flow: From Dough Rolling to the Syrup Moment
- The “Real Deal” Technique: Getting Crisp Edges and Gooey Centers
- What You Actually Take Home: Two Waffles Plus Coffee or Tea
- Small Group Setup: Max 12 and Why That Helps
- Ingredients and Dietary Reality: Ask If You Need Details
- Kids, Safety, and Who This Class Fits Best
- Price and Value: Does $27.55 Make Sense?
- Should You Book This Stroopwafel Workshop in Amsterdam?
- FAQ
- How long is the Amsterdam stroopwafel workshop?
- How much does it cost?
- Where do I meet for the workshop?
- Is the class offered in English?
- What is the group size limit?
- Do I need baking or cooking experience?
- How many stroopwafels will I make?
- Can I take the waffles away?
- Can I cancel for a full refund?
Key highlights at a glance
- Traditional iron waffle cooking with step-by-step guidance
- Make two stroopwafels that you can eat on the spot or wrap to take away
- Warm stroop (caramel syrup) filling—the signature moment
- History and practical tips shared in a short, clear intro
- English-hosted class designed for mixed experience levels (max 12)
- Coffee or tea break while your waffles cool
Stroopwafels in 45 Minutes: Why This Class Works
Amsterdam has a million things to do. What makes this workshop worth your time is that it’s short, hands-on, and deeply local. Stroopwafels aren’t just a souvenir snack. They’re a real Dutch technique: two thin waffles with warm syrup melted into the middle so the whole thing turns soft-chewy while still staying crisp on the edges.
The format is also practical. You get a warm introduction, you get a working station, and you get to produce two finished waffles. It’s ideal if you want something authentic without losing half your day to a museum line or a long guided walk.
One more smart point: you’re not paying for a “watch only” experience. You roll dough, you cook on the iron, and you fill the waffle with syrup. That active part is what makes the result feel personal.
You can also read our reviews of more tours and experiences in Amsterdam


Where You’ll Go: Albert Cuyp Market Location That Fits a Day Out
The meeting point is at Albert Cuypstraat 194, 1073 BL Amsterdam, and the experience ends back at the same spot. That matters because you’re not stuck crossing town after class with sticky hands and sugar breath.
The workshop is tied to the Albert Cuyp Market area, so you can easily build it into a day that already includes food browsing and quick neighborhood exploring. After the class, you’re close to a lot of casual wandering—handy if your schedule needs a sweet reset between other activities.
Practical tip: plan your timing like you would for a cooking class anywhere. Your waffles are warm during the filling step and cooling stage, so leave yourself a little breathing room before hopping into another packed tour.
The Class Flow: From Dough Rolling to the Syrup Moment
Your 45-minute workshop starts with a host-led intro. Expect a quick history of the stroopwafel—this is where you learn why the treat became such a staple in Dutch life, including the idea that it dates back to the 18th century. It’s not a long lecture, but it gives context so the technique feels meaningful instead of random.
Then you move into the core workflow:
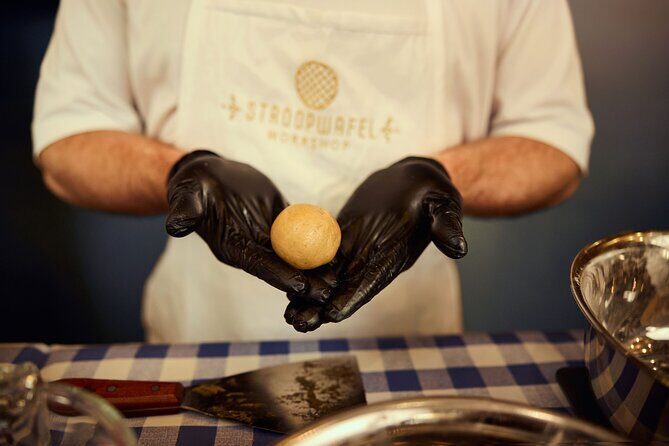
- Dough prep: You’ll put on an apron and work at your station. Based on the class setup, the flour is pre-prepared, so it’s more “add water, knead, and go” than a kitchen-lab from scratch. That’s great for a short class, but it’s worth knowing if you’re hoping for every ingredient decision.
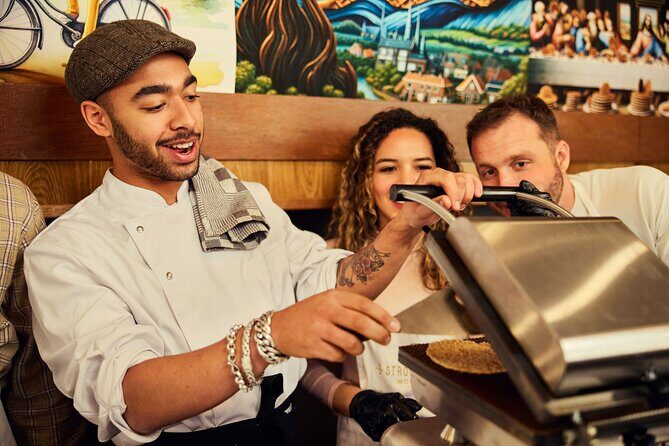
- Waffle iron cooking: You learn how to cook the dough on a traditional waffle iron to get the right texture—golden, crisp, and ready for filling.
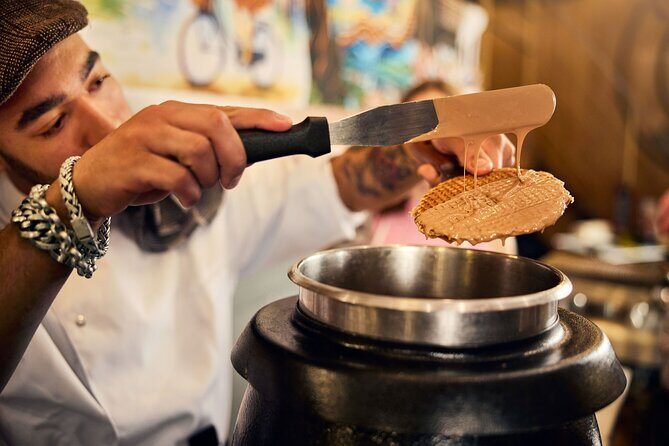
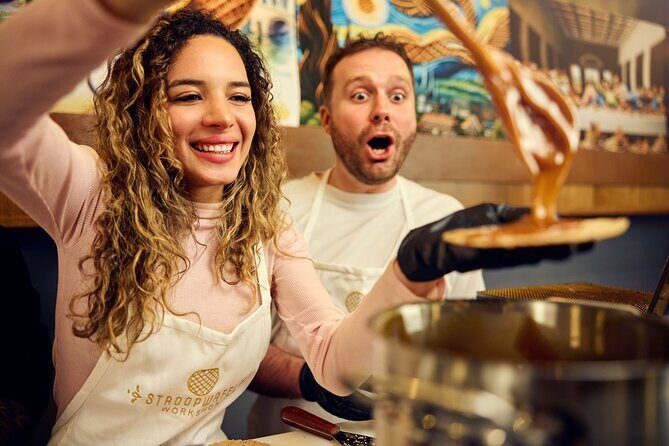
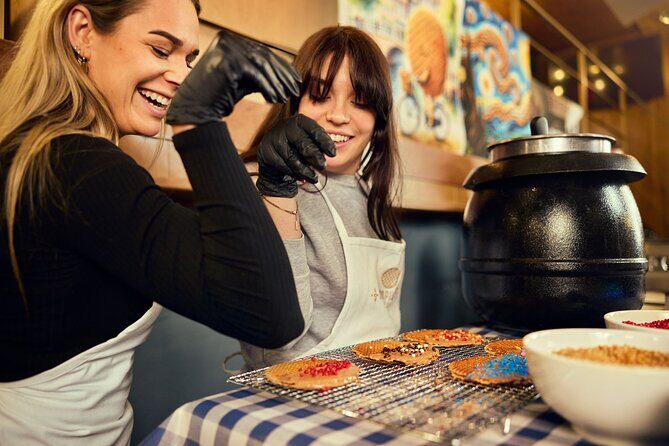
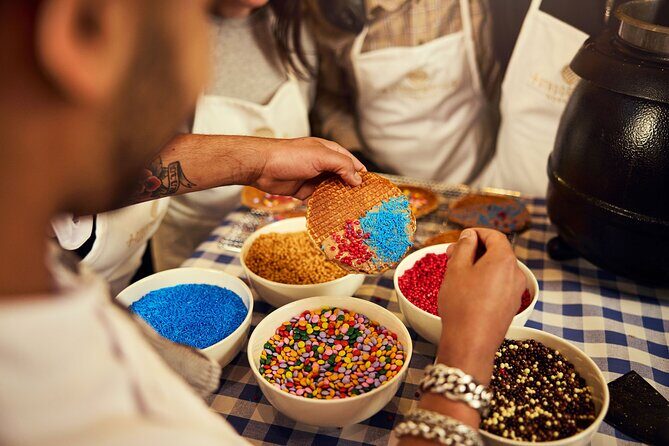
- Filling with stroop: This is the signature step. You drizzle warm syrup between the thin waffle layers, sealing in that gooey sweetness.
I like this sequence because it mirrors what you’d do at home, just with the hard parts simplified by a host and the right equipment already set up.
The “Real Deal” Technique: Getting Crisp Edges and Gooey Centers
The thing you’re paying for here isn’t only sugar. It’s the transformation of texture. Stroopwafels work because the syrup softens the middle while the waffles keep their crisp structure.
In this workshop, your host helps you hit that balance. You’re taught the basic cooking technique on the iron, and then you add syrup while everything is still in the right temperature zone. That syrup timing is why these taste like stroopwafels and not like two bland wafers with caramel on the side.
Also, you’re not stuck with a single pre-made waffle. You make your own, so your end result is closer to what you expect when someone says Dutch syrup waffle.
Small heads-up: syrup is sticky. That’s part of the fun, but it can be messy on table surfaces and hands. You’ll want to keep napkins close and wear clothes you don’t mind getting a little caramel dust on.
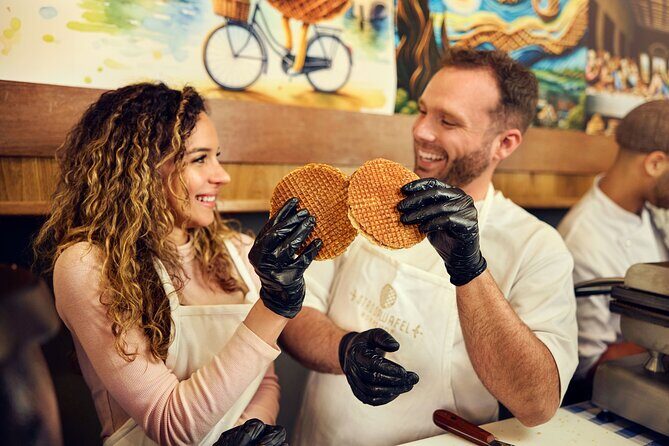
What You Actually Take Home: Two Waffles Plus Coffee or Tea

A standout value point is that you get two waffles. You can eat them there, and you can also take them away if you want. For couples, this is a clean “shared treat” setup. For families, it’s a way to guarantee everyone gets something satisfying without turning the outing into a long wait.
During cooling, you’ll have a break with coffee or tea. A couple of real-world notes to keep your expectations grounded: sometimes the coffee setup can be delayed if equipment needs attention, and you may find the space for sitting is limited because classes rotate through the room. So treat the drink as a bonus, not a guaranteed pause with a perfect café atmosphere.
If you’re the type who likes to walk out with a little proof of effort, there’s also a mention of a certificate at the end. Even if you’re not a “certificate person,” it’s a nice extra for kids and for anyone who enjoys collecting small travel moments.


Small Group Setup: Max 12 and Why That Helps
This workshop caps at 12 travelers, which is a big deal for a hands-on cooking activity. With fewer people, hosts can circulate and correct technique before you lock in the wrong texture.
It also keeps the “wait time” down. In 45 minutes, you don’t want half your time spent watching someone else. A tight group usually means you get more time at your station, and you get your waffles moving through the process at a steady pace.
If you’re picky about the vibe, aim for a time slot when you’re not rushing. The class is designed to feel easy and fun, but it still needs enough calm for people to knead dough and handle a hot iron safely.
Ingredients and Dietary Reality: Ask If You Need Details
Here’s the honest part. The workshop is simple for beginners, but it’s not presented as a detailed ingredient lab. One experience note highlighted that there wasn’t much focus on ingredient breakdown or dietary requirements during the session.
So if you have allergies, strict dietary preferences, or you’re avoiding specific ingredients for medical or religious reasons, don’t assume. Ask staff questions before you commit, and clarify what goes into the dough and syrup filling for your needs.
This isn’t about scaring you away. It’s about making sure you leave with waffles you can actually enjoy.
Kids, Safety, and Who This Class Fits Best
This activity is not recommended for children under 6. The reason is straightforward: the cooking step uses a hot waffle iron, and it involves moving hands, turning equipment, and working at a table height that can be hard for smaller kids.
That said, it’s a popular choice for families with older children who can stand safely, follow instructions, and enjoy a hands-on sticky-sweet task. If your child is tall enough to work comfortably at the table and you’re comfortable with the hot-iron element, this is the kind of activity that can genuinely feel like a highlight—not just a “learning experience.”
Best fit:
- Adults and couples who want a short authentic food activity
- Families with kids old enough to handle standing and instructions
- Solo travelers who want an easy way to chat with other people during a sweet break
Less ideal:
- Very young kids who can’t manage safe handling
- Anyone expecting a slow, from-scratch pastry class with lots of chemistry
Price and Value: Does $27.55 Make Sense?
At $27.55 per person, the price feels reasonable for what you get: equipment access, staff guidance, ingredients, and two finished waffles you can eat immediately.
To judge value, I look at three things:
- Time: 45 minutes is a practical block in a trip schedule.
- Output: You don’t leave empty-handed—you leave with two stroopwafels.
- Skill transfer: Even with pre-prepared flour, you learn the sequence—roll, cook, fill—and you understand what makes the texture work.
You’re also paying for the host’s role in making the process smooth. This is especially important because waffle texture is tricky. In a short workshop, that guidance is what helps your waffles come out right.
If you’re the type who loves Dutch food but hates long tours, this is a good “pay once, eat well” stop. If you’re purely chasing the cheapest thing to do, there are cheaper food experiences. But if you want a real hands-on Dutch skill in under an hour, the math works.
Should You Book This Stroopwafel Workshop in Amsterdam?
I’d book it if you want a quick, authentic Dutch food moment that ends with something you made yourself. The two waffle payoff, the small-group cap (max 12), and the mix of short history plus practical technique make it a strong choice for most visitors.
Skip or reconsider if you:
- need a very detailed ingredient/dietary breakdown in advance
- have very young kids who can’t safely handle the hot-iron part
- are hoping for a longer, from-scratch baking masterclass
If you’re flexible and you like the idea of warm caramel syrup and crisp waffle edges, you’ll probably find this one of the easiest “yes” activities in Amsterdam.
FAQ
How long is the Amsterdam stroopwafel workshop?
It runs about 45 minutes.
How much does it cost?
The price is $27.55 per person.
Where do I meet for the workshop?
You meet at Albert Cuypstraat 194, 1073 BL Amsterdam, Netherlands.
Is the class offered in English?
Yes. The workshop is offered in English.
What is the group size limit?
The workshop has a maximum of 12 travelers.
Do I need baking or cooking experience?
No experience is required. The activity is designed to be easy for beginners.
How many stroopwafels will I make?
You make two waffles.
Can I take the waffles away?
Yes. You can eat them there or take your waffles away.
Can I cancel for a full refund?
Yes. You can cancel up to 24 hours in advance for a full refund.