REVIEW · AMSTERDAM
Rent a bike in Amsterdam | 1, 2, 3+ hours
Book on GetYourGuide →Operated by A-Bike rental and tours · Bookable on GetYourGuide
Renting a bike in Amsterdam is one of the fastest ways to go from seeing the city to moving through it. I like that the A-Bike is built for city riding, with three gears that make hills and bridges feel manageable, and a setup that’s easy to adjust. I also like the handy shop locations near Vondelpark, Leidseplein, Central Station, and the city center, so you can start riding without crossing half the city on foot.
One thing to keep in mind: bike comfort isn’t automatic. Before you roll off, I’d test the fit (seat and handlebars) and check how the brakes feel, since a couple of riders have reported issues with comfort and brake response.
In This Review
- Key points to know before you rent
- Hitting the streets: why this Amsterdam bike rental feels local
- What you’re really paying for
- Choosing your pick-up shop: Amstel, City Center, Central Station, Vondelpark, or Leidseplein
- My practical advice for picking the best starting point
- Getting comfortable fast: gears, brakes, lights, and bike fit
- The bike features that matter on real Amsterdam streets
- Make the “first five minutes” your friend
- Riding like you know the city: narrow streets, shared space, and calm momentum
- A simple strategy to avoid stress
- Your first hour plan: what to do right after you pick up
- If you’re nervous about road rules
- Vondelpark start: easy riding and a great visual payoff
- How to use this start to see more
- Leidseplein and Rembrandtsquare: city energy with convenient access
- What to expect from these areas
- Central Station pick-up: the simplest route from arrival to riding
- How to make station-area riding work
- City center riding: your pace, your stops, your day
- Use the bike like a tool, not a mission
- Price and value: what $11 per person actually buys you
- What’s not included (and what that means)
- Timing your rental: 1 hour to 1 day, and how to choose
- A simple way to pick your duration
- Small-group feel: private group option
- If something goes wrong: staff help you get back on track
- Should you book this bike rental?
- FAQ
- Where can I pick up and return the bike?
- Do I need to return the bike to the same shop where I picked it up?
- What’s included with the rental bike?
- Are the bikes equipped with gears?
- Is insurance included?
- Is coffee or tea included?
Key points to know before you rent
- Pick a shop that matches your first ride since you’ll pick up and return at the same location.
- Three gears make the city easier when you hit short climbs or need extra control.
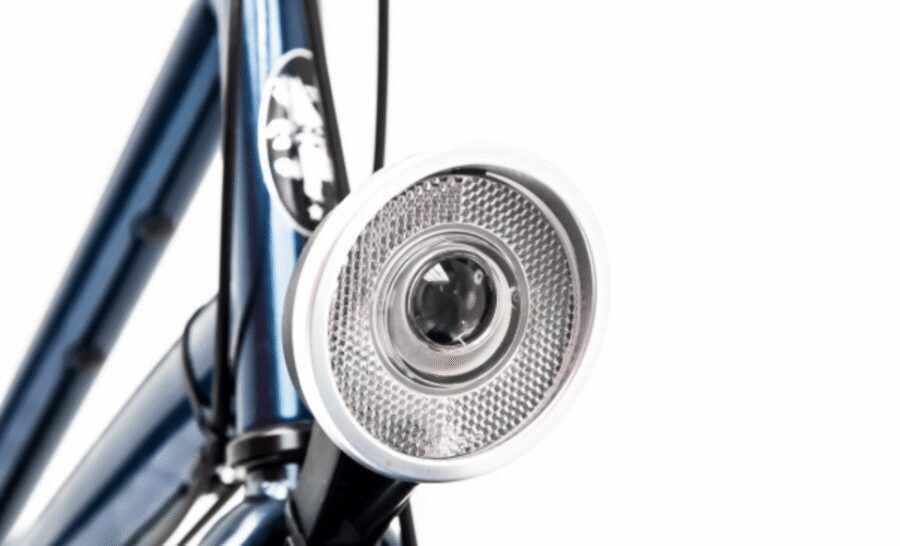
- Lights and a bell are included so you can ride safely through busier streets.
- Adjust the bike on the spot for comfort; small fit problems can turn into big ones.
- Plan your day in time blocks since rentals run from 1 hour up to 1 day.
Hitting the streets: why this Amsterdam bike rental feels local
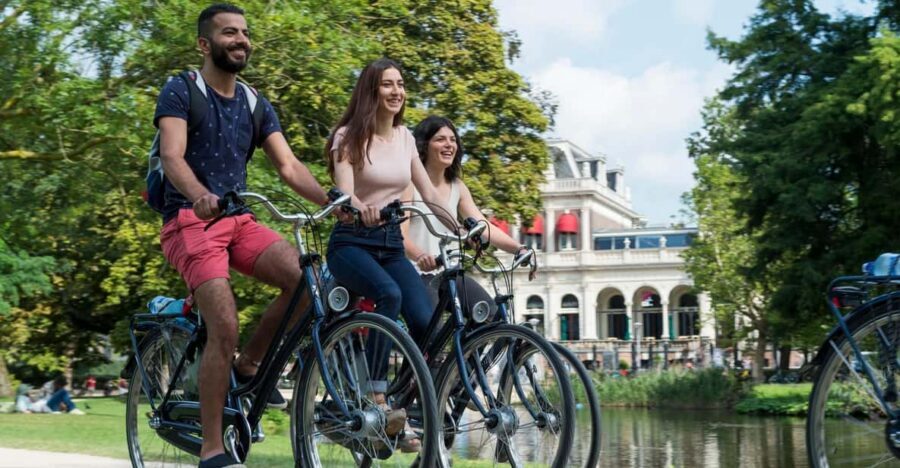
Amsterdam is made for bikes. Not in a postcard way, but in the practical way the streets and routes work when you’re rolling at your own pace. With A-Bike, the goal is simple: get you on a lightweight city bike that feels normal fast, then let you choose where to go next.
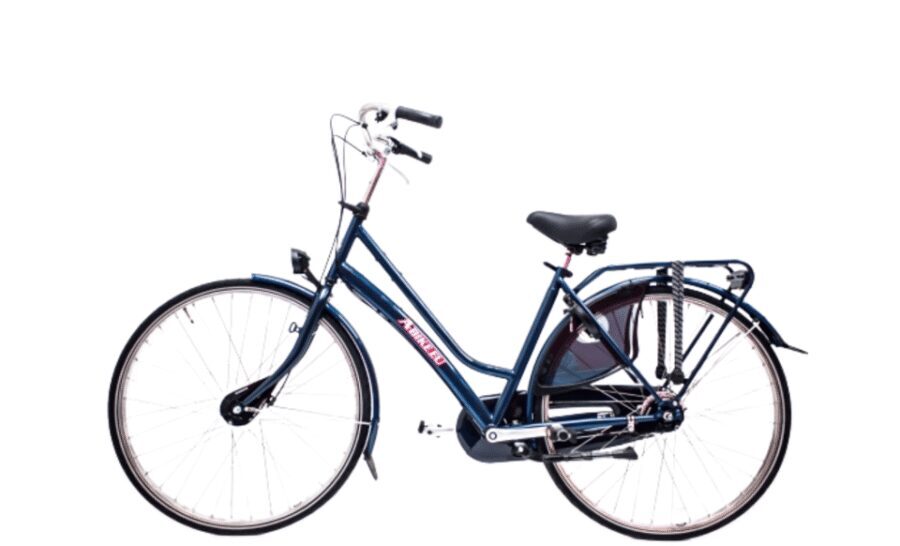
The bike itself is the foundation. You’re not wrestling a heavy machine. You’re riding a lightweight custom-made city bike meant for stop-and-go city life, with roller brakes built for smooth stops. Add in the front and back lights plus a bell, and you have the basics you need to navigate shared space without feeling under-equipped.
You’ll also notice little design choices that matter more than you’d think. There’s a chain guard to help keep your clothes from getting yanked and dirty, and the seat and handlebars are adjustable, which is a big deal when you’re riding longer than you planned.
You can also read our reviews of more cycling tours in Amsterdam

What you’re really paying for
The price starts around $11 per person (the exact amount depends on your rental length and availability). That can sound “too simple,” but the value comes from time. If you spend even part of your day walking between districts, a bike often pays for itself quickly—because it turns Amsterdam from a route-planning exercise into a wandering experience.
Choosing your pick-up shop: Amstel, City Center, Central Station, Vondelpark, or Leidseplein
A-Bike gives you five rental shops across Amsterdam: you choose the location when you book, and that same location is where you pick up and return. There are no transfers between shops, so it’s worth thinking like a local: start near the area you want to ride first, then finish back near that shop.
Here are the five options you’ll be dealing with:
- Amstel 140 (Rembrandtsquare)
- Nieuwe Nieuwstraat 19D (City Center)
- Oosterdoksstraat 106 (Central Station)
- Tesselschadestraat 1E (Vondelpark)
- Kerkstraat 27A (Leidseplein)
My practical advice for picking the best starting point
- If you want the easiest “beginner-friendly day” feel, choose Vondelpark. One strong tip is that riding from that side can feel less confusing, especially if you’re still learning Amsterdam’s road rules.
- If you’re arriving by train and want to go fast, pick Central Station. It’s the most direct way to turn your arrival into movement, not a long walk.
- If you’re already planning to spend time around the core streets and shopping areas, go with City Center or Leidseplein.
Getting comfortable fast: gears, brakes, lights, and bike fit
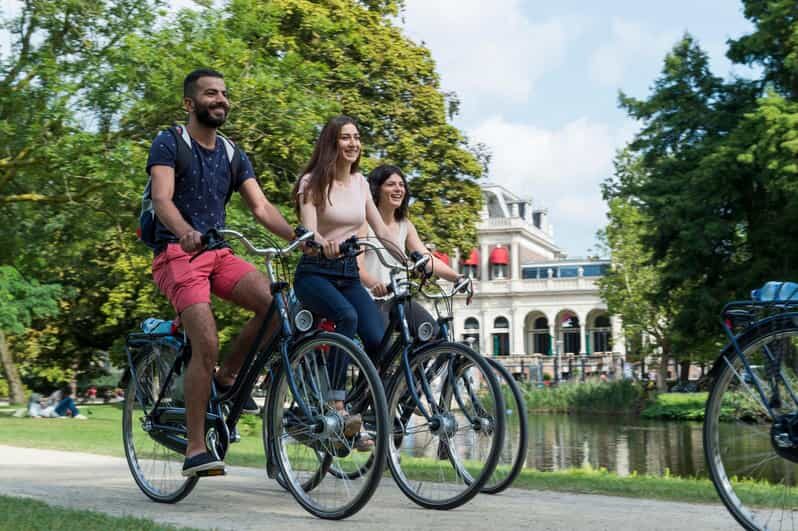
The fastest way to enjoy a rental is to treat setup like part of the experience. You don’t want to discover discomfort five minutes in.




The bike features that matter on real Amsterdam streets
- Three gears: This is the key for control. You can keep pedaling smoothly when you hit a short climb, then shift down to make stops easier.
- Front and backlights: Even if you’re riding earlier in the day, having lights built in is reassuring for the moments you end up out longer than expected.
- Bell: It’s simple, but it changes everything when you need to alert people at crossings or narrow spots.
- Advanced roller brake system: The idea is predictable stops. Still, I’d test braking before you merge into heavier traffic flow.
Make the “first five minutes” your friend
Ask the shop team to help with adjustment if you need it, then do this:
- Set the saddle height so your leg isn’t stretched too long or bent awkwardly.
- Adjust handlebars so you’re not leaning in a way that hurts your back.
- Do a gentle stop-and-go test to confirm the brakes feel right.
A couple of riders have flagged that comfort and brake response can vary. That’s exactly why you should not skip the setup step.
Riding like you know the city: narrow streets, shared space, and calm momentum
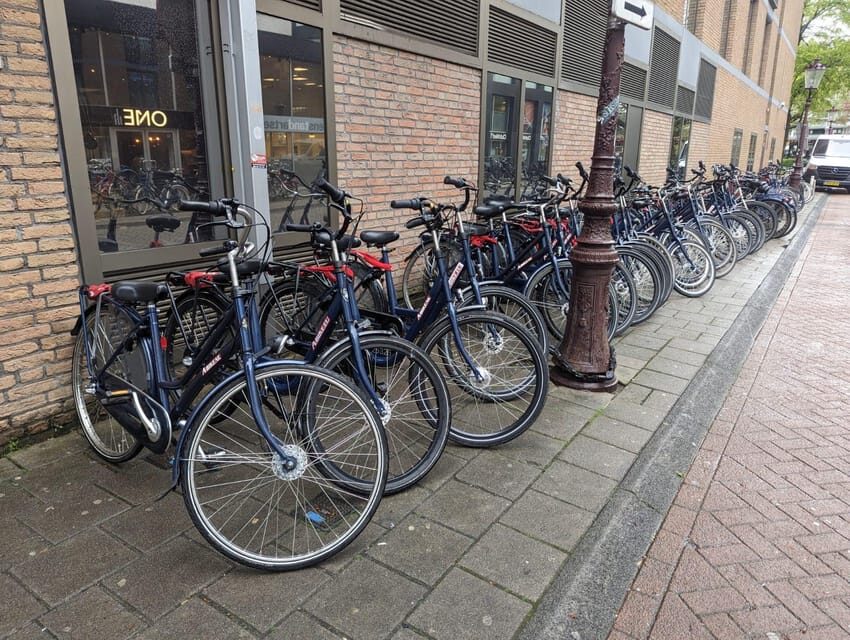
Amsterdam can feel intense if you’re expecting cars-only rules. The rhythm is different. Bikes are everywhere, and people cross streets in their own way, sometimes without warning you like a drive-through society would.
This is where the included gear helps. With lights and a bell, you’re giving clear signals instead of relying on guessing. And with three gears, you don’t end up “powering through” a hill with shaky legs.
A simple strategy to avoid stress
- Ride at a pace you can keep without rushing.
- Don’t fight the flow; match it.
- Use your bell early—short taps, not panic.
Also, the design includes a chain guard, which is a small touch but it helps keep your ride comfortable when you’re out longer than one stop-and-go loop.
Your first hour plan: what to do right after you pick up
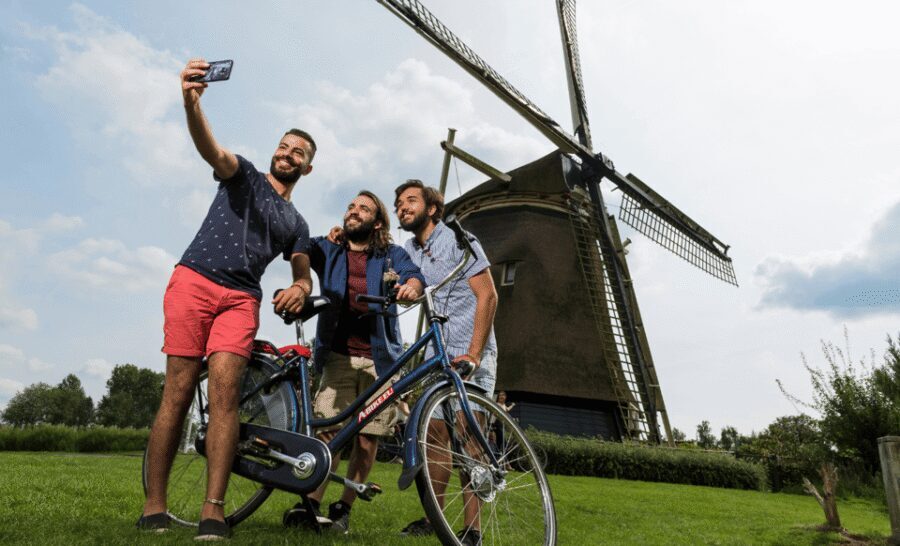
You’re not stuck with a guided route. That’s the point. But if you want the day to feel smooth, I recommend structuring it lightly.
Here’s a good way to think about the first hour:
- Get out of the shop area and into a calmer stretch.
- Spend 15–20 minutes figuring out your comfort and shifting.
- Then head toward a key landmark zone you already picked (Vondelpark, Leidseplein, the city center grid, or the Central Station area).
In other words, treat the first hour as your learning loop, then let the rest of the day become flexible.
If you’re nervous about road rules
Start where it’s easier to settle in. That’s why Vondelpark is such a smart choice for many people. One practical tip from a rider is that it can be a less confusing place to start, especially if your home country has different bike-road patterns. You’ll get a feel for spacing, movement, and how people handle crossings.
Vondelpark start: easy riding and a great visual payoff
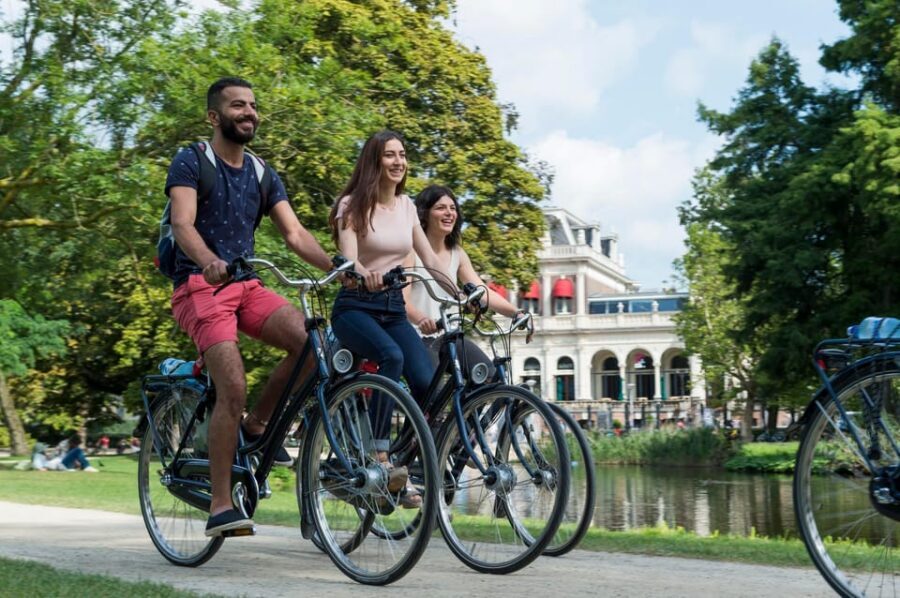
If you choose Tesselschadestraat 1E (near Vondelpark), you’re setting up a ride that often feels calmer and more forgiving. The park area acts like a natural anchor point, so you’re not constantly recalculating where to go next.
Why this works:
- You can ride out, take breaks, and come back without the pressure of a complicated navigation scramble.
- You’re more likely to feel confident with shifting because your pace is easier to manage.
- It’s a strong way to turn your bike into a full-day experience rather than a quick photo loop.
How to use this start to see more
Don’t over-plan. Ride toward the park zone, enjoy a slow lap or two, then branch out gradually toward the more central streets. When you return, you’ll feel the day connect: park-to-district-to-park instead of random zigzagging.
Leidseplein and Rembrandtsquare: city energy with convenient access
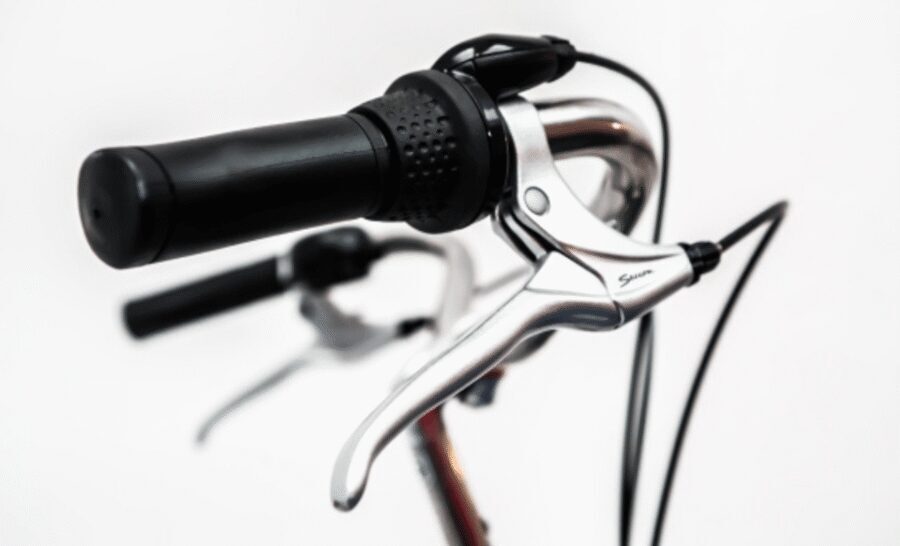
If you pick up near Leidseplein (Kerkstraat 27A) or Rembrandtsquare (Amstel 140), you’re positioning yourself for the parts of Amsterdam that feel most “in town.” These starts are ideal when you want a mix of quick stops and longer stretches without committing to one big loop.
What to expect from these areas
- Streets can feel tighter and more crowded than the park edges.
- You’ll likely benefit from the bike’s adjustable setup so you can stay comfortable while making short jumps between places.
This is also where the included bell becomes most useful. People can be unpredictable in narrow corridors, and a clear signal keeps you from having to squeeze past with minimal time to react.
Central Station pick-up: the simplest route from arrival to riding
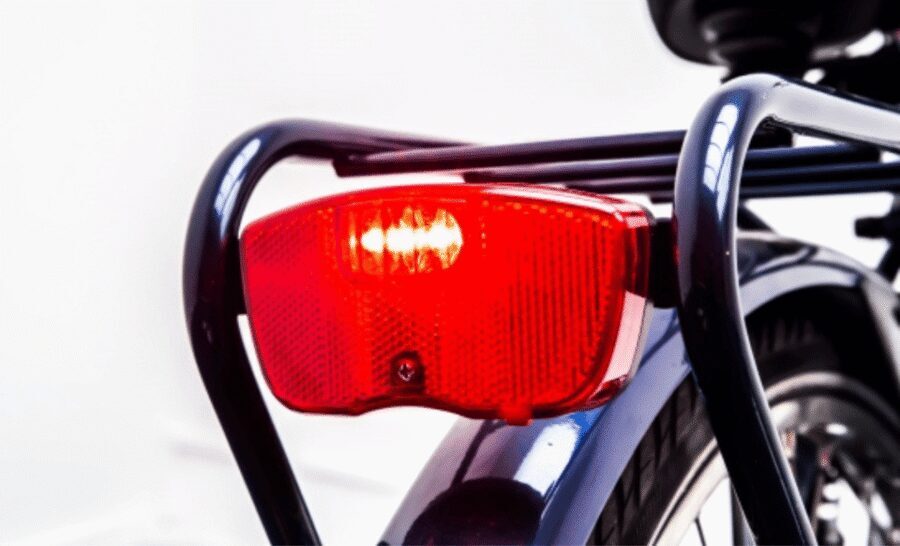
If your day begins with train arrival, picking up at Oosterdoksstraat 106 near Central Station is straightforward. You skip the “first transit headache” and move straight into Amsterdam mode.
How to make station-area riding work
Central Station is a hub. That means you’ll likely hit the busiest bike moments early. So do your setup properly:
- Confirm your fit.
- Test your brakes lightly.
- Give yourself a little extra room while you get your bearings.
Once you’re moving away from the densest sections, the city often feels smoother and more intuitive.
City center riding: your pace, your stops, your day
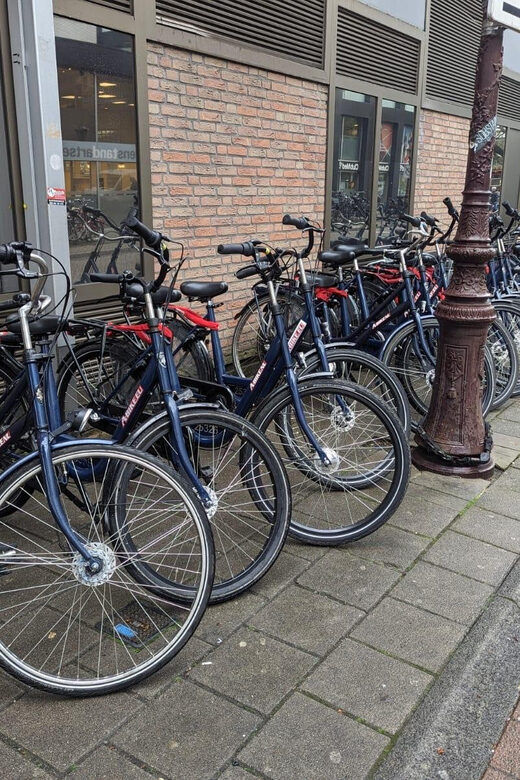
Choosing Nieuwe Nieuwstraat 19D places you close to the core lanes and the kind of streets where biking saves real time. When you want to wander without committing to a single destination, the city center is usually the best playground.
Use the bike like a tool, not a mission
You don’t need to decide everything upfront. Use your rental time to:
- Do quick loops for photos and street views.
- Stop wherever something catches your eye.
- Adjust your plan as you learn which streets feel easy and which feel busy.
That flexibility is the real “local” part. Amsterdam is flat in many places, but it still has enough movement—curves, bridges, short climbs—that having gears makes a big difference in how tired you feel.
Price and value: what $11 per person actually buys you
Starting around $11 per person, this rental is priced for practicality. You’re paying for the bike plus the safety basics: lights, bell, and adjustable fit, plus comfort-supporting touches like the chain guard. And you get a perk at the shop: free coffee and tea at rental locations.
The value depends on how you’ll use it. If you plan to ride for even a few hours, you’ll often spend less total time in transit than you would walking. If you’re only riding for a short burst, it can still be worth it if it connects key parts of your day efficiently.
What’s not included (and what that means)
- Insurance is not included.
- Accessories are not included.
So think ahead about what you personally need (weather protection, extra items), and ride with a plan that fits your comfort level.
Timing your rental: 1 hour to 1 day, and how to choose
You can rent for 1 hour up to 1 day. That range is useful because Amsterdam is flexible: sometimes you want a quick tour, and sometimes you want a full day where the bike becomes your main transport.
A simple way to pick your duration
- Choose 1–2 hours if you just need an efficient “highlight connection” between two areas.
- Choose half to a full day if you want time to get comfortable, stop often, and explore multiple neighborhoods.
If you’re still learning bike routes and road rules, giving yourself more time usually leads to a calmer ride—more “enjoy” and less “survive.”
Small-group feel: private group option
There’s a private group available, which can matter if you’re traveling as a group that wants the bike experience without mixing into a larger setup. It’s also a good option if you want to ride together with fewer coordination headaches.
If something goes wrong: staff help you get back on track
Bike rentals run on real-world timing. If you run into an issue, you should expect the shop team to help you quickly. For example, one experience described a problem with a lock, and the team was ready to assist fast. That kind of support matters because it turns a small hiccup into a brief interruption rather than the end of your day.
Should you book this bike rental?
Book it if you want an easy, independent way to see Amsterdam on your own schedule. I especially think it’s a smart choice for first-timers who want the city-bike feel without complicated planning, and for people who can make use of three gears to keep riding comfortable.
Skip the idea—or at least take extra care—if you’re very sensitive about bike fit or you don’t want to do a careful setup check. Spend a few minutes adjusting the seat and handlebars, test the brakes, and start on a route that feels manageable.
If you want the best chance of a smooth day, pick a shop that matches your first ride (Vondelpark and Leidseplein are popular starting points), then plan to ride, rest, and ride again. Amsterdam rewards that rhythm.
FAQ
Where can I pick up and return the bike?
You’ll pick up and return the bike at one of five A-Bike shops: Amstel 140, Nieuwe Nieuwstraat 19D, Oosterdoksstraat 106, Tesselschadestraat 1E, or Kerkstraat 27A.
Do I need to return the bike to the same shop where I picked it up?
Yes. The location you choose is where you will pick up and return your bike, and there are no transfers between shops.
What’s included with the rental bike?
The rental includes a lightweight city bike with three gears, front and backlights, a bell, roller brakes, adjustable handlebars and saddle, and a chain guard.
Are the bikes equipped with gears?
Yes. The bikes have three gears, designed to help you pedal smoothly on flats and short uphill sections.
Is insurance included?
No. Insurance is not included in the rental.
Is coffee or tea included?
Yes. Free coffee and tea are available at the rental locations.