REVIEW · AMSTERDAM
Amsterdam Night Photography Workshop with a Professional
Book on Viator →Operated by Isee Amsterdam Photography Tours · Bookable on Viator
Amsterdam at night is made for photos. This workshop is interesting because it blends real shooting time with a guide who knows where the light and angles actually work, not just theory. I like that you get focused help that fits all experience levels, and the pace is hands-on rather than lecture-heavy.
Two things I especially value: the guide’s practical feedback on composition and manual shooting, and the fact that equipment is covered so you can participate even if you travel light. One thing to consider: it starts at 9:30 pm and focuses on the Red Light District area, so it may not feel comfortable for everyone, and it’s also weather-dependent.
In This Review
- Key things to know before you go
- Why Amsterdam after dark is perfect for long exposures
- Meeting at Stationsplein: timing, pace, and group size
- Red Light District at 9:30 pm: what you’ll shoot (and how to do it well)
- Tripods, settings, and composition tips you can reuse
- A guide who adjusts to your level, not the other way around
- Weather and night logistics: the practical stuff that affects your photos
- Price: is $114.39 actually good value here?
- Who should book this workshop (and who might not love it)
- Should you book the Amsterdam Night Photography Workshop with a Professional?
- FAQ
- FAQ
- How long is the Amsterdam night photography workshop?
- What time does the workshop start?
- Where is the meeting point?
- What is the group size limit?
- Is the workshop in English?
- Do I need my own camera or tripod?
- What if the weather is bad?
- Can I get a refund if I cancel?
Key things to know before you go
- Small group (max 5): plenty of attention while you set up for long exposures
- After-dark locations: you shoot where Amsterdam’s lights and streets give you real photo options
- Practical night skills: manual basics, composition tips, and equipment guidance
- Equipment support: you can bring gear or use what’s available so you can join in
- English instruction: straightforward for solo travelers and couples who want clear direction
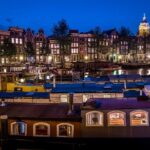
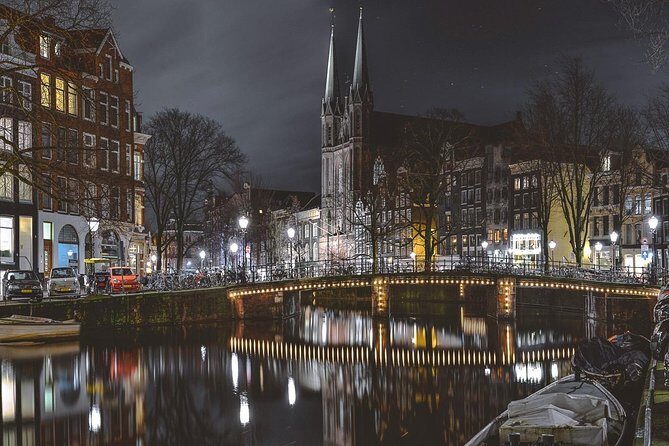
Why Amsterdam after dark is perfect for long exposures
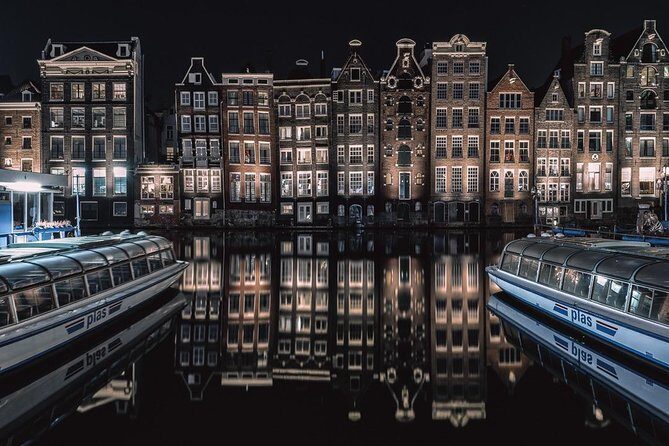
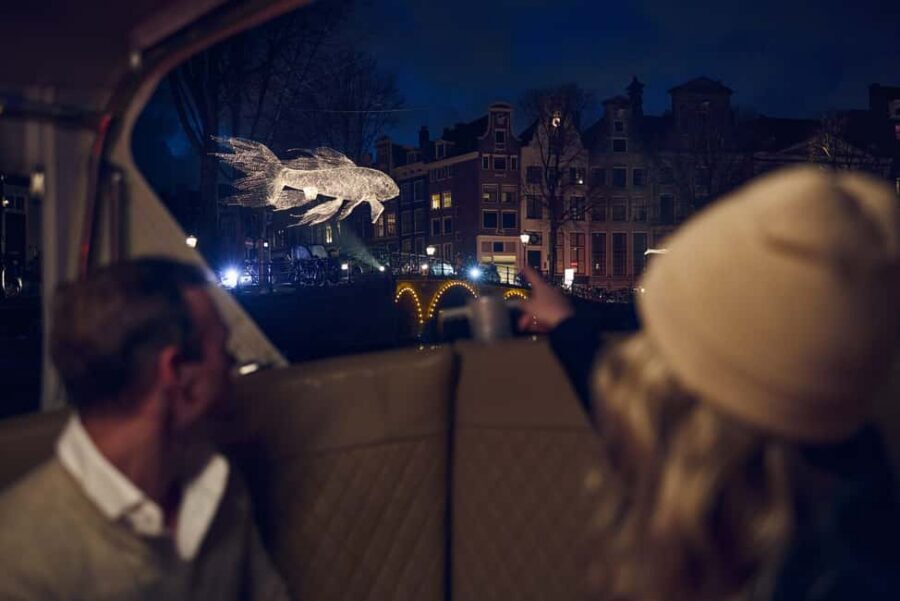
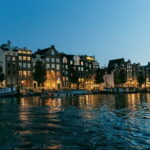
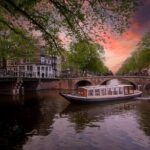
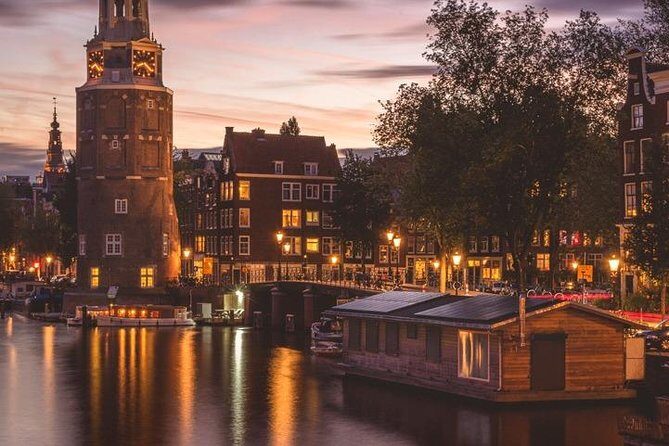
Amsterdam turns into a different city once the sun drops. Streetlights bounce off canal surfaces, windows glow, and the city’s mix of old architecture and modern signage creates layers you can frame in a single shot. That’s exactly why a night-focused workshop works better than trying to figure it out alone with your camera and a half-charged battery.
What I like about this format is that it’s built around the idea that success comes from two parts: where you stand and how you shoot. You can know the settings for long exposures, but if you’re in the wrong spot, your images look flat. With the right location choices, those same settings suddenly look dramatic and intentional.
You can also read our reviews of more evening experiences in Amsterdam

Meeting at Stationsplein: timing, pace, and group size
The workshop meets at Stationsplein, 1012 AB Amsterdam, and it runs about 1 hour 30 minutes. It starts at 9:30 pm, so plan to arrive early, not just on time. Public transportation is nearby, and you’ll use a mobile ticket, which is convenient if you’re carrying fewer things on your phone.
The group size is capped at 5 travelers, which is huge for night photography. When you’re setting up a tripod, figuring out focus, and trying to avoid blocking foot traffic, you don’t want a big crowd. A small group also makes it easier for the guide to notice what you’re struggling with—like shutter speed choices or framing—and fix it fast.
The tour is offered in English, and service animals are allowed. Most people can participate, but since this is a nighttime walking experience in a central area, wear shoes that work on uneven pavement.
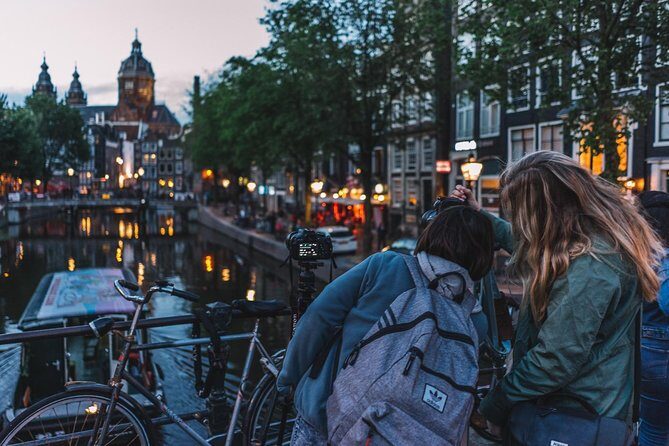
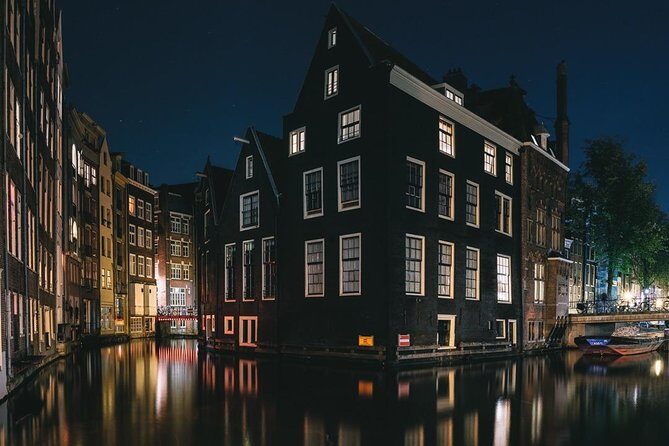
Red Light District at 9:30 pm: what you’ll shoot (and how to do it well)
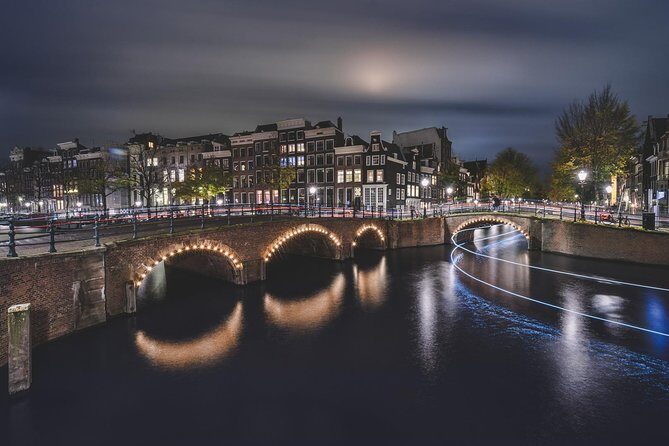
The first stop is the Red Light District, which sounds like a single detail—until you realize why it’s a photographer’s playground after dark. You get strong light sources all around: warm interior glows, bright signage, and reflective surfaces. That mix is ideal for learning long exposure photography because it gives you enough light to work with and enough contrast to make your composition choices matter.
Here’s what you should watch for as you shoot in this area:
- Light hierarchy: decide what the viewer should notice first, then frame around it
- Stable setup: long exposures reward a steady tripod and a calm stance
- Street-level perspective: try different heights so your lines lead the eye instead of just showing random streets
Also, this district is active at night. You’ll want to be respectful and practical: set up quickly, keep your gear tidy, and don’t block sidewalks while you wait for a perfect shot.
If you’re uncomfortable with adult-entertainment areas, this tour might feel like the wrong match. On the other hand, if you like bold city lighting and don’t mind that Amsterdam is real life, not a postcard set, you’ll likely enjoy the challenge.
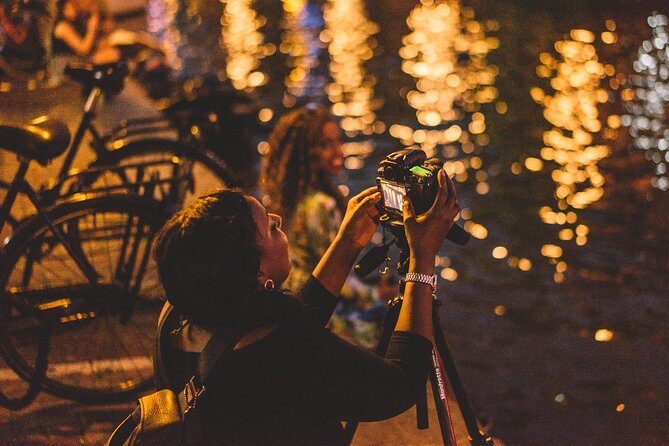
Tripods, settings, and composition tips you can reuse
This workshop isn’t just about aiming and hoping. The guide is a professional with 15 years in the photography industry and also works as a University Lecturer, so the teaching style tends to be clear and structured. You get basics for night photography, then practical guidance that helps you apply those basics instantly.
One standout from real experiences is how the guide supports beginners without talking down—and also gives useful pointers to people who already shoot manually. That balance is what makes the session worth it: you aren’t paying just to be taken to a pretty place. You’re paying to learn how to make a photo work.
What you’ll focus on during the night session usually includes:
- Long exposure basics (how to steady the camera and control the result)
- Composition tips (how to place your subject so it feels intentional)
- Manual shooting discussion (so you understand what changes when you tweak settings)
- Equipment suggestions (so your camera setup matches the shot you want)
Equipment is part of the value here. The workshop says you can bring or borrow equipment, so everyone can participate. In some cases, participants have been provided with support like a tripod, which matters if you’re using a compact camera or a phone and weren’t expecting to need a stand.
A guide who adjusts to your level, not the other way around
Night photography is personal. Some people want technical control. Others just want better photos and a fun walk. This workshop handles that well because the group stays small and the guide can adjust on the fly.
In the feedback I’ve seen, people often mention the guide’s patience and helpful attitude. That shows up when you’re learning something finicky like focusing at night or finding the right framing while people move around you. When the guide gives suggestions for setting up and then checks in while you try again, you start to improve in minutes, not days.
You’ll also get discussions that go beyond one setting or one trick. Topics like depth, composition, and equipment choices come up, which is useful because it helps you stop copying one famous photo and start making your own style.
And yes, the guide can be flexible with real-world timing. That matters when you’re meeting at night in a busy central area. If you’re anxious about being late, it helps to know the guide makes it easier to connect and start smoothly.
You can also read our reviews of more photography tours in Amsterdam
Weather and night logistics: the practical stuff that affects your photos
This experience requires good weather. If conditions are poor, the workshop may be canceled and you’ll be offered another date or a full refund. That’s not just a policy line; it changes your results. Wet streets can help some shots, but heavy rain kills the experience fast when you’re trying to keep gear stable and protect your camera.
Plan for the night itself:
- Dress warm. Amsterdam nights can feel colder than you expect, especially near water.
- Bring a small towel or cloth if you have one. Light mist and condensation happen.
- Use a method for your camera that won’t have you fumbling—set up once, then fine-tune.
- Give yourself time to meet. It starts at 9:30 pm, and you’re starting in a central area.
One more thought: long exposure setups create a small “bubble” of space around your tripod. Be mindful of pedestrians and keep your setup tight and quick.
Price: is $114.39 actually good value here?
At $114.39 per person, this workshop isn’t cheap in the casual-travel sense. But it can be good value if you care about photography and want more than a simple photo walk.
Here’s what you’re paying for:
- A professional guide with teaching experience and industry background
- Small-group instruction (max 5), which makes feedback faster
- Location know-how—the guide knows where to stand for better light and angles
- Hands-on practice time for night and long exposure photography
If you’ve ever tried to learn night photography by watching videos, you know the problem: you don’t know which settings matter in your exact scene. This workshop shortens that gap. For people who want to come away with usable skills and not just a handful of decent photos, the price can feel fair.
If you’re looking for a free stroll with a few pointers, you might prefer another kind of tour. But if you want direction, stability, and technique you can reuse, this is built for that.
Who should book this workshop (and who might not love it)
This tour fits best if you:
- Want to learn night photography and long exposures with real feedback
- Enjoy walking around a central area at night and using city light as your subject
- Like the idea of a small-group lesson where you can ask questions
- Travel with a camera and want help making it perform after dark
It may be less ideal if you:
- Are uncomfortable with the Red Light District atmosphere
- Expect a very long workshop with editing or studio-style instruction (this is about shooting time)
- Need a daytime experience or want to skip late-night logistics
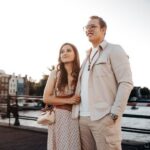
If you’re traveling solo, this can be a great way to meet the city with guidance. If you’re a couple, you’ll likely enjoy it too because two people can work on different framing ideas while still learning together.
Should you book the Amsterdam Night Photography Workshop with a Professional?
I’d book it if you want to upgrade your night photos in a focused way. The combination of a small group, practical teaching, and a guide who knows how to put you in the right spots after dark is the core reason it works. You’re not stuck guessing what to do next, and you’re not pushed into a one-size-fits-all lesson either.
Skip it if the Red Light District setting would make you uneasy, or if you know you’ll be stressed by cold weather and late timing. Also keep your expectations realistic: it’s a 1 hour 30 minute workshop, so come ready to shoot and learn quickly, not to do everything.
FAQ
FAQ
How long is the Amsterdam night photography workshop?
It runs for about 1 hour 30 minutes.
What time does the workshop start?
The start time is 9:30 pm.
Where is the meeting point?
You’ll meet at Stationsplein, 1012 AB Amsterdam, Netherlands.
What is the group size limit?
The workshop has a maximum of 5 travelers.
Is the workshop in English?
Yes, it’s offered in English.
Do I need my own camera or tripod?
The experience notes that you can bring or borrow equipment so everyone can take part. Some participants have also mentioned tripod support.
What if the weather is bad?
The experience requires good weather. If it’s canceled due to poor weather, you’ll be offered another date or a full refund.
Can I get a refund if I cancel?
You can cancel for a full refund if you cancel at least 24 hours in advance of the start time.
If you want, tell me what camera you’re using (phone, compact, mirrorless, DSLR) and whether you have a tripod. I can suggest a simple plan for what to bring so you’re ready right when you arrive.